Sunday, April 5, 2020, 15:58
Posted by Administrator
Posted by Administrator

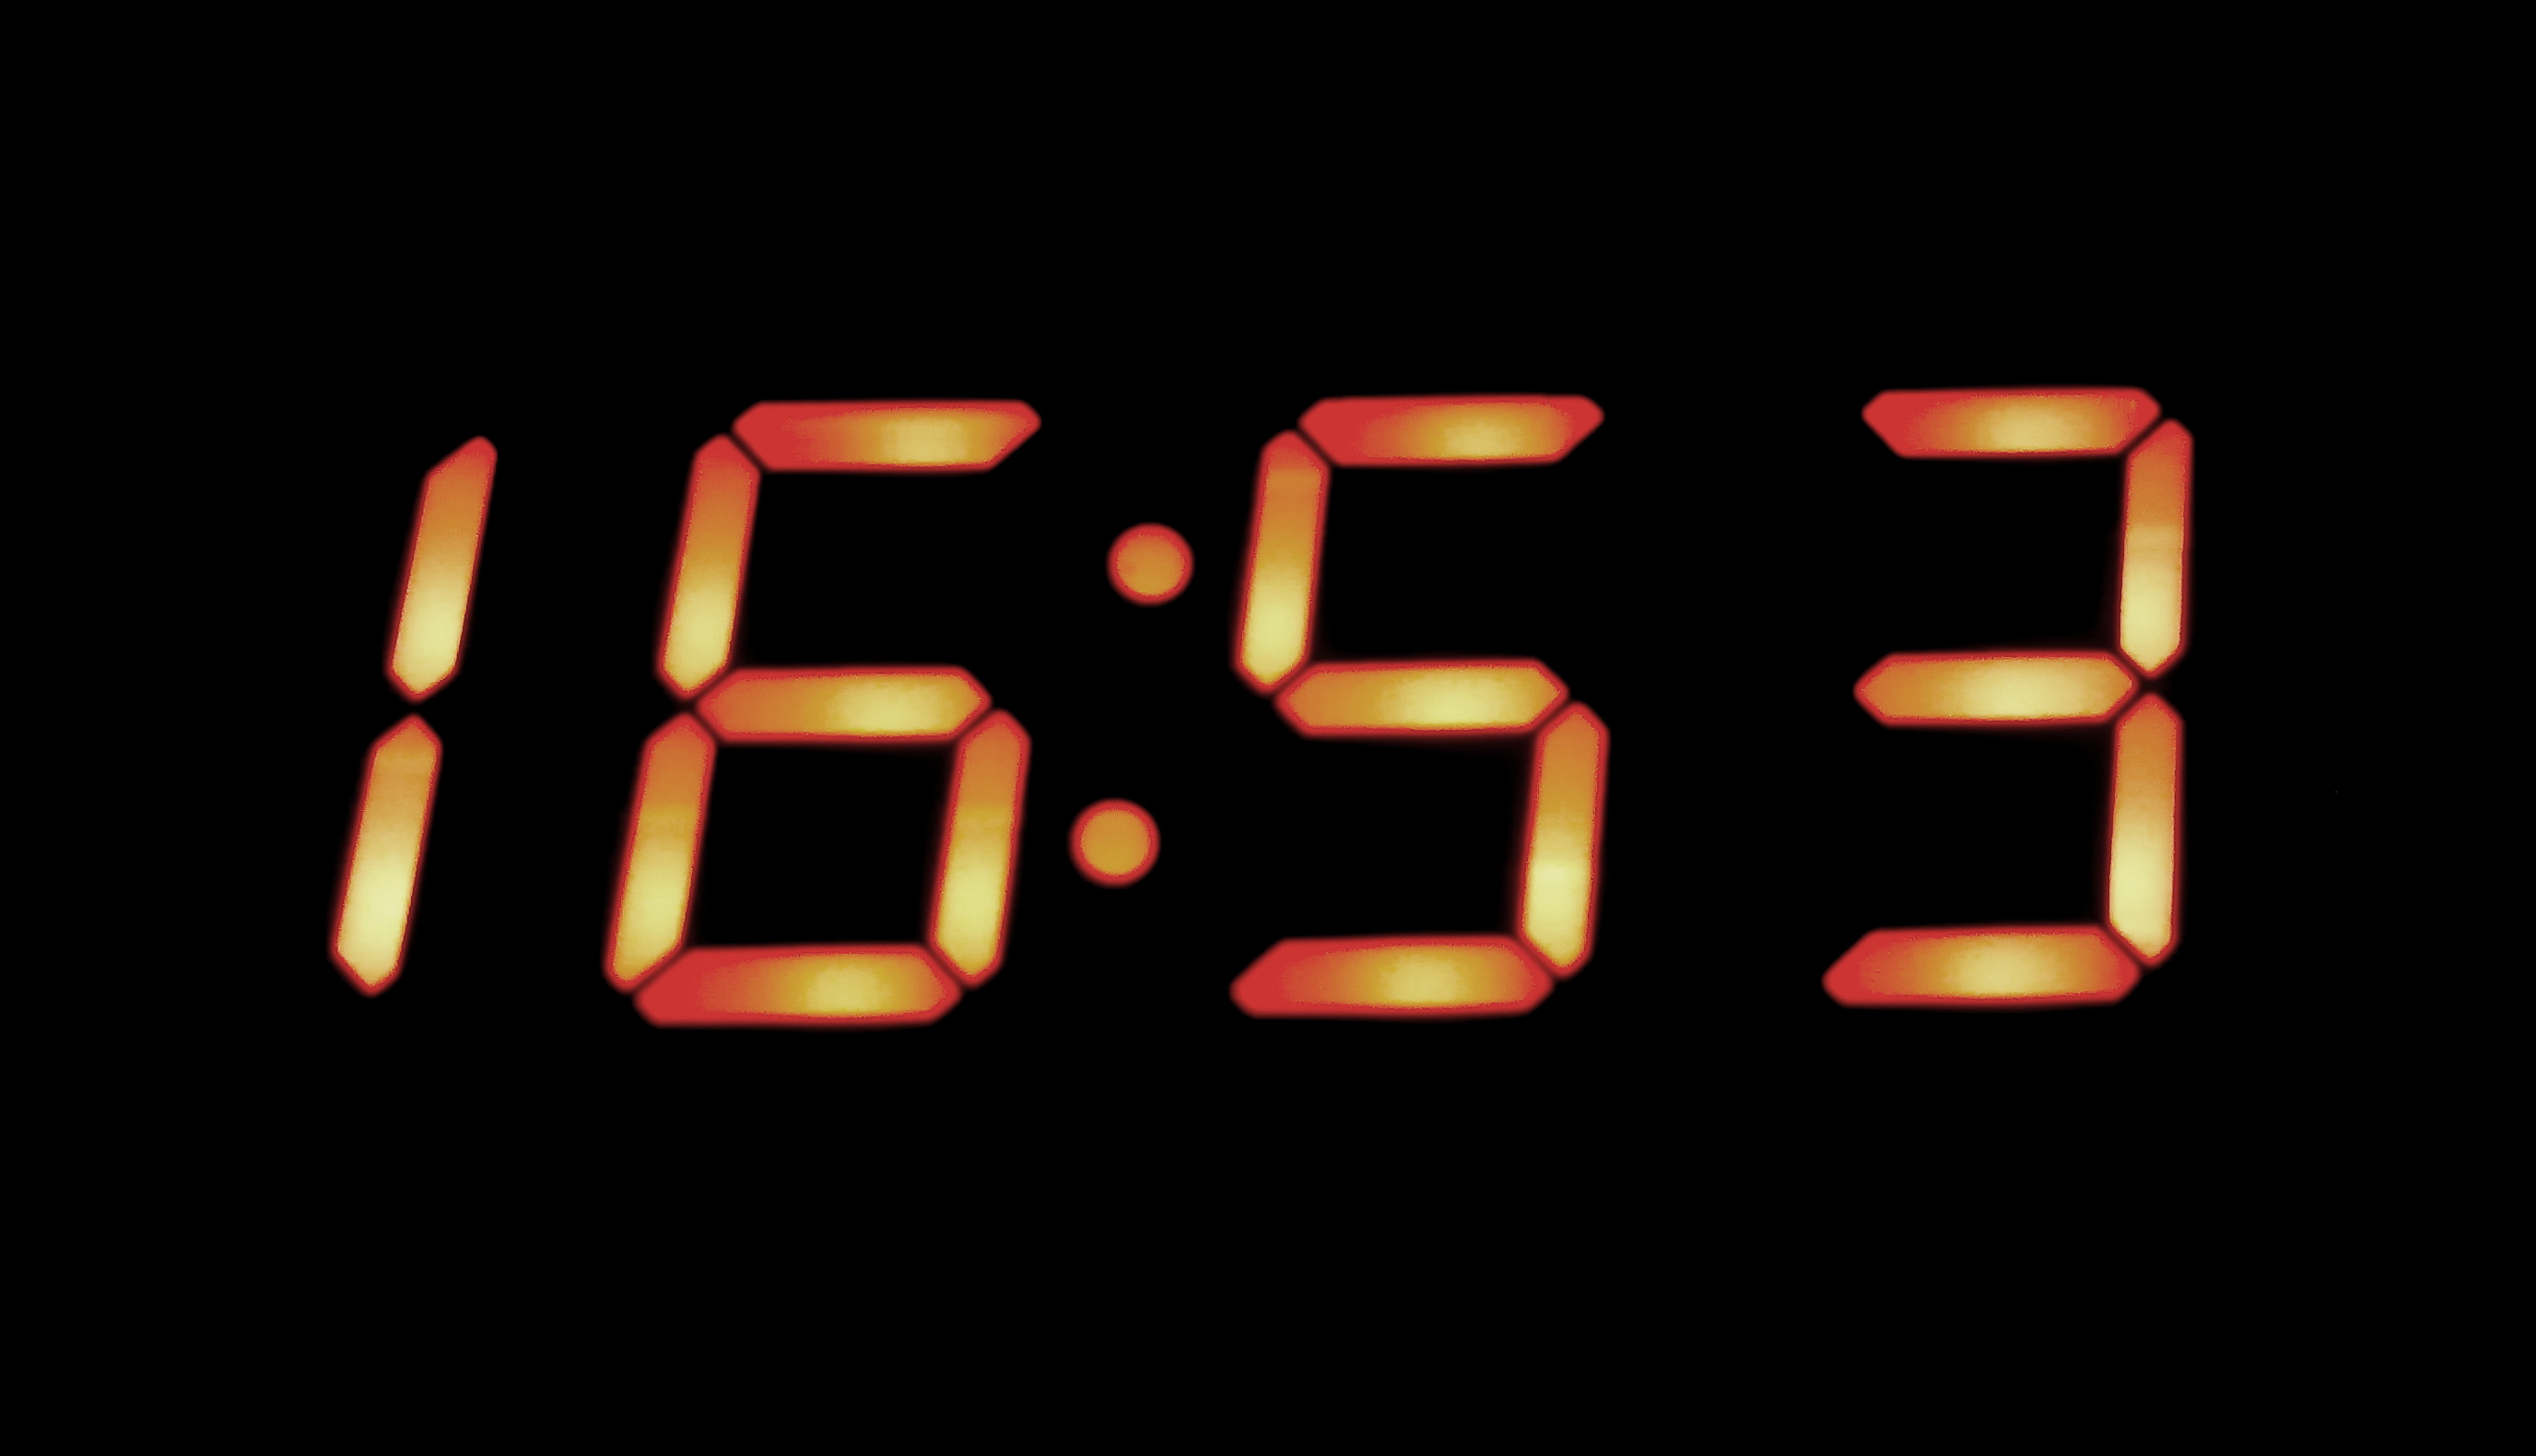
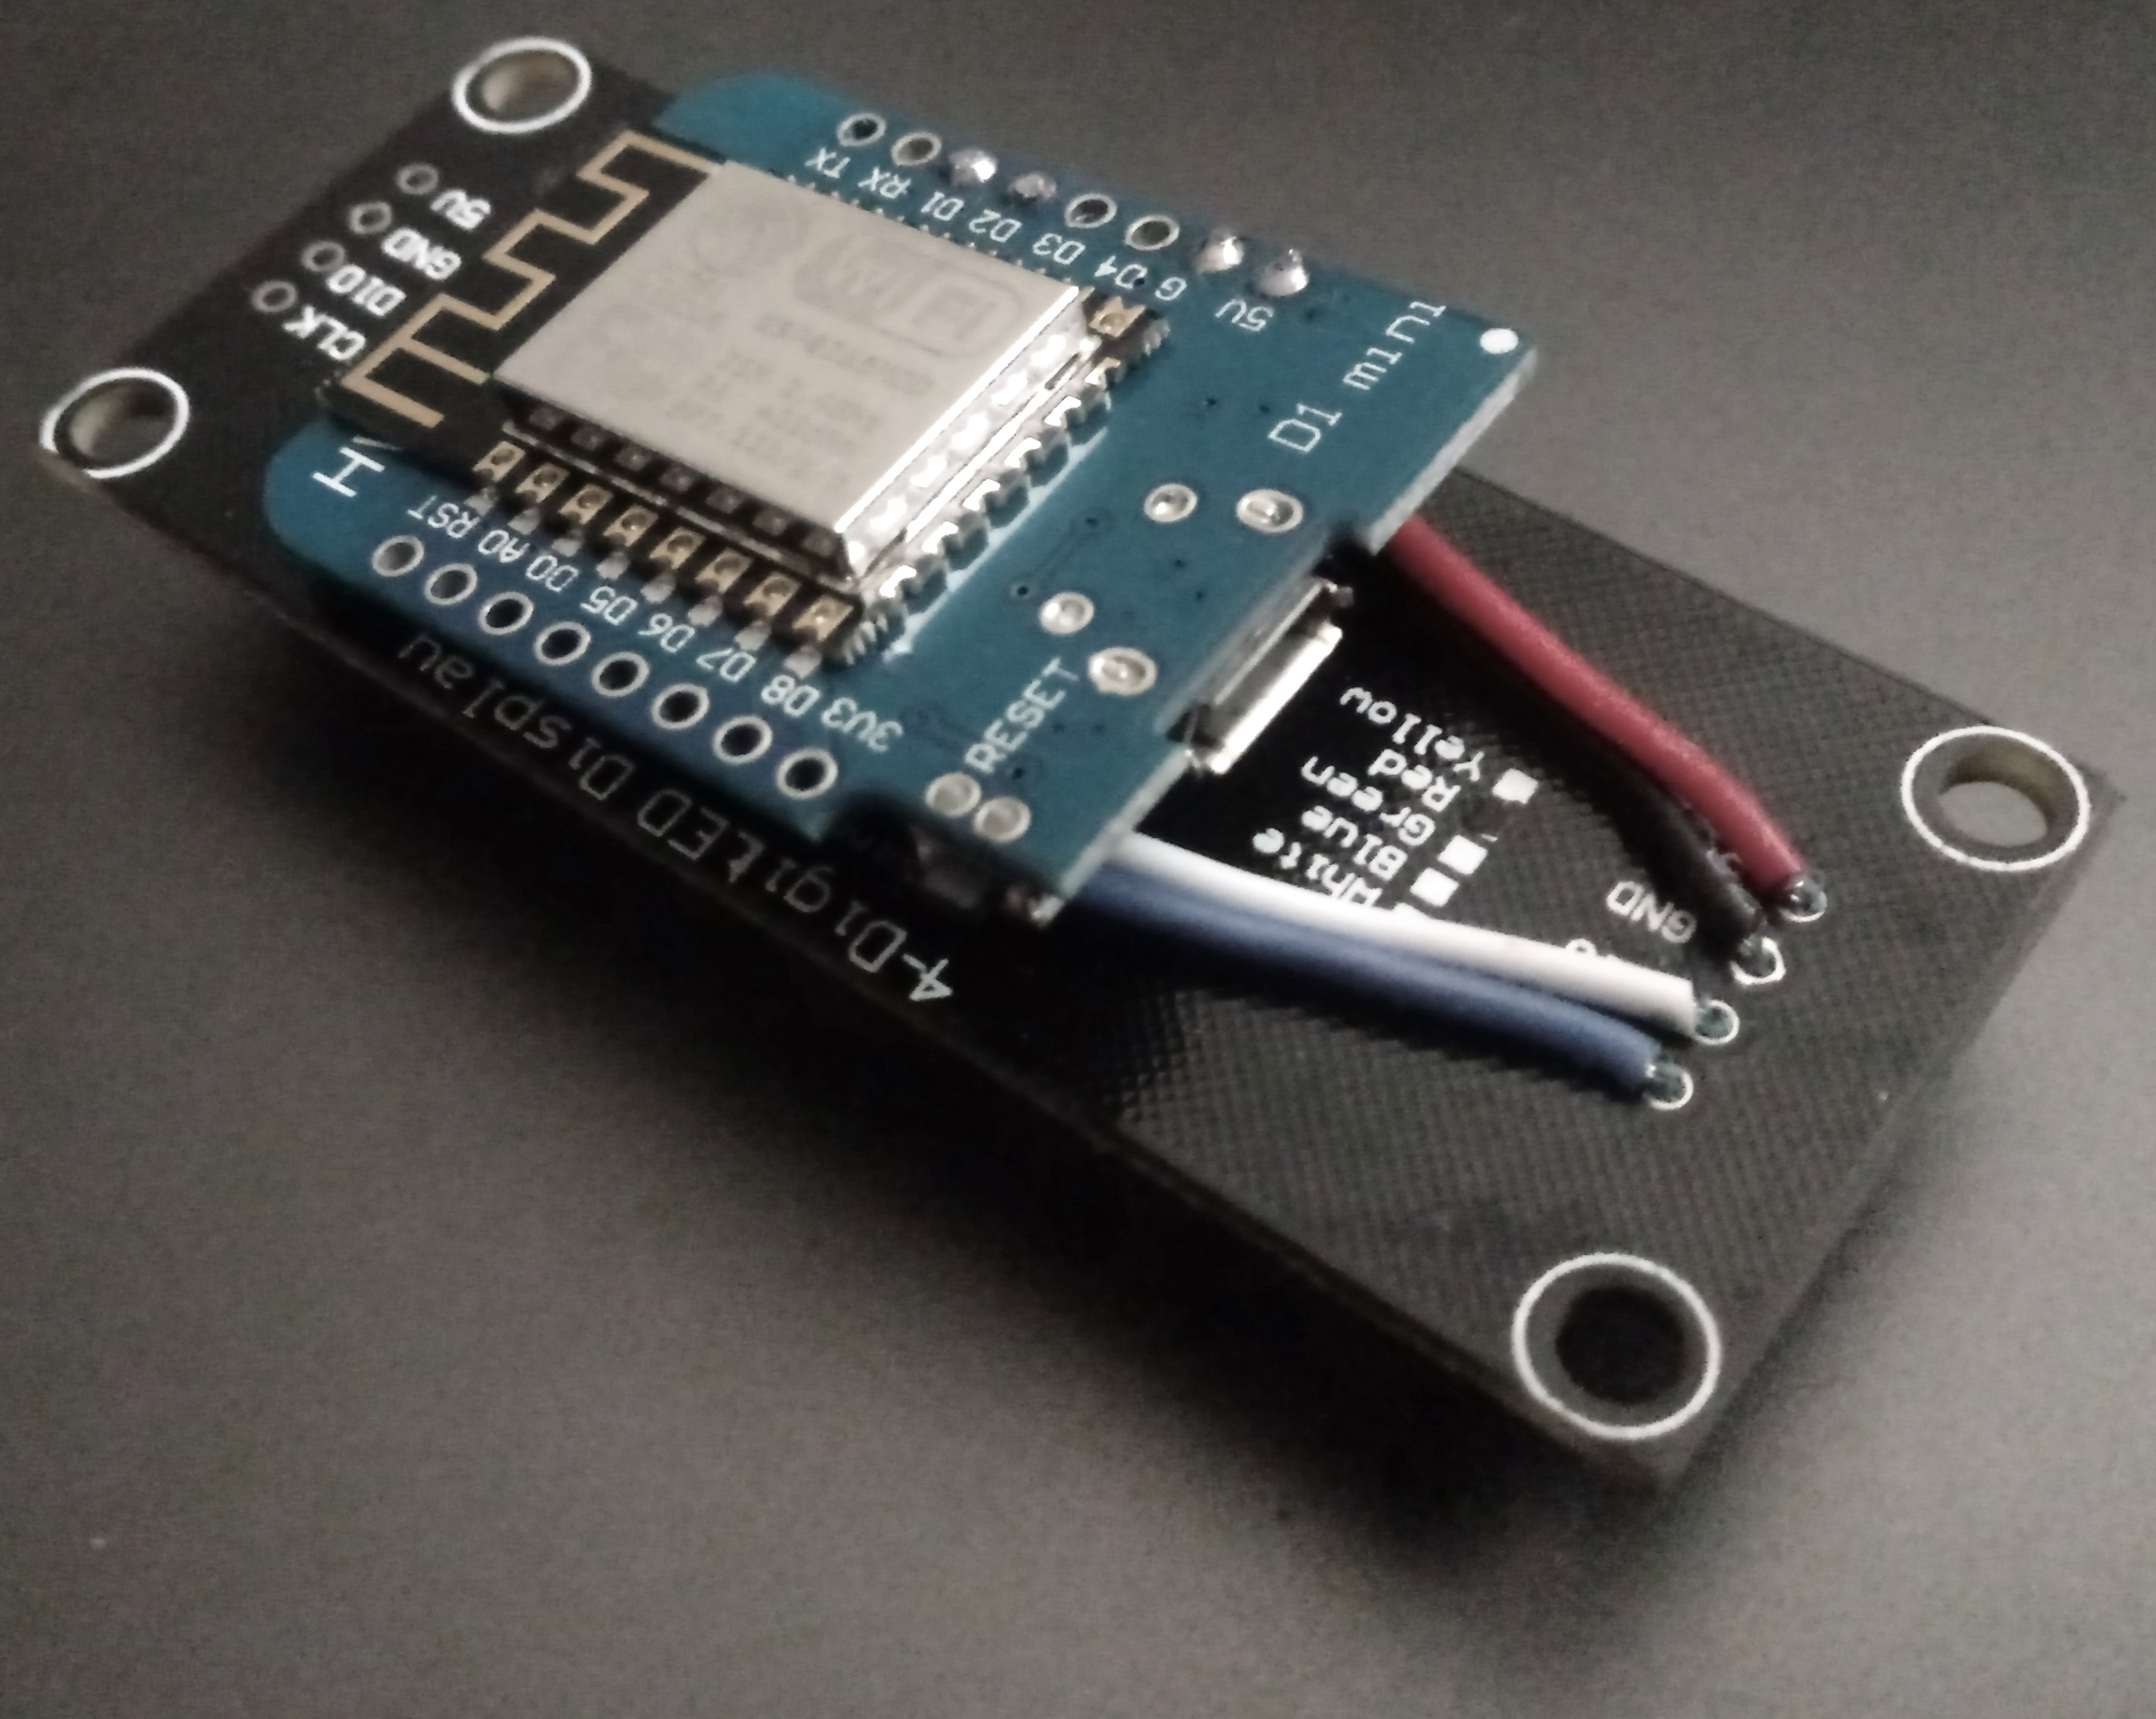
My latest passion project incorporates a cheap Wemos D1 Mini clone board ( ~2$ each on eBay ) with integrated wifi along with a TM1637 4-Digit Led display module ( ~ $1 each ) to create an incredibly accurate self-adjusting wifi clock. I had previously been using 4-Digit displays by individually addressing all the necessary inputs, but it takes a whole ratking of wires to do that and the cost savings are negligible compared to the TM1637 modules that can be found overseas.
The Wemos D1 Mini clones have become my go-to board for projects like these both because of their low cost and versatility. The Digispark boards I sometimes use still have them beat on price, but only by about 60 cents or so, and those don't have wifi so they wouldn't be suitable for this project.
The code is very straightforward after all the necessary board and module libraries are gathered and can be found below:
// Add ESP8266 board from https://arduino.esp8266.com/stable/package_esp8266com_index.json ( File > Preferences, Tools > Board > Board Manager )I'm running it without an enclosure but have carefully soldered the necessary wires in place on the back of the board and then have hot-glued the whole assembly together such that the front-facing side of the clock fully obscures the D1 Mini behind it:
#include <TM1637Display.h> // https://github.com/avishorp/TM1637
#include <NTPClient.h> // https://github.com/arduino-libraries/NTPClient
#include <ESP8266WiFi.h>
#include <WiFiUdp.h>
// Set up the character arrays for the Wifi ssid and password
const char *ssid = "********";
const char *password = "********";
// Set the UTC Time offset in seconds
// const long utcOffsetInSeconds = -21600;
const long utcOffsetInSeconds = -18000;
// Define NTP Client to get the time
WiFiUDP ntpUDP;
// Set up the Network Time Protocol Client, update with fresh time every 10 minutes
NTPClient timeClient(ntpUDP, "85.21.78.23", utcOffsetInSeconds, 600000);
// Module connection pins (Digital Pins)
#define CLK 5
#define DIO 4
// Set up the TM1637 Display
TM1637Display display(CLK, DIO);
void setup() {
// Set the brightness of the display ( 0xff is brightest )
display.setBrightness(0x1a);
// Connect to the wifi point
WiFi.begin(ssid, password);
// Wait for the wifi to be connected
while ( WiFi.status() != WL_CONNECTED ) {
delay(500);
}
// Start the time client
timeClient.begin();
}
void loop() {
// Update the time client to get the current time
timeClient.update();
// Display the hours
display.showNumberDecEx(timeClient.getHours(), 0b11100000, true, 2, 0);
// Display the minutes
display.showNumberDecEx(timeClient.getMinutes(), 0b11100000, true, 2, 2);
}

The mounting holes on the 4-Digit display make for easy attaching to the wall with push pins, but the unit can also just be set by itself on a desk because it is self-supporting. It consumes little power, and I've run it successfully on some portable battery packs for many days. Most of the time I leave it nestled into a piece of driftwood in the bedroom.
I initially ran into an issue where the time would sometimes stop getting set and start to drift. I was able to correct this by using the specific IP address of the NTP ( Network Time Protocol ) server I like best, instead of relying on a DNS to get the IP for me. I suspect that after enough reconnects the DNS handler stops working correctly and causes the library I'm using to fail after enough attempts. Since changing to a set IPv4 address I've had no issues with the clock at all and have found it to be extremely accurate even when running for many months in a row.
The real beauty of this project is its simplicity. Plug in the clock, it sets itself, you're done. Altogether the cost of all wires, hotglue, solder, and modules for this project is well below $4. A future improvement I'd like to make to this would be to more intelligently handle daylight savings time because right now the board has to be re-flashed every time that this is in effect.
Comments are very much welcome.